- Published on
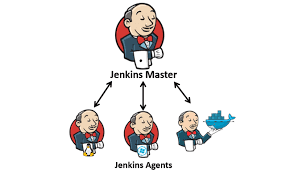
Jenkins Master Slave Configuration
- Authors

- Name
- Srinath Musham
Prerequisites
- Establish a setup for two servers. One is for control node and the other one is for the subordinate node.
- Set up Java on the control node.
- Install Jenkins onto the control node.
- Make sure the subordinate node has the identical Java version as the control node.
- Create a user and SSH keys on the subordinate node.
- Copy keys on to the control node
- Config the subordinate node with the agent code.
Configuring the Master Node for a Jenkins Master-Slave Configuration setup
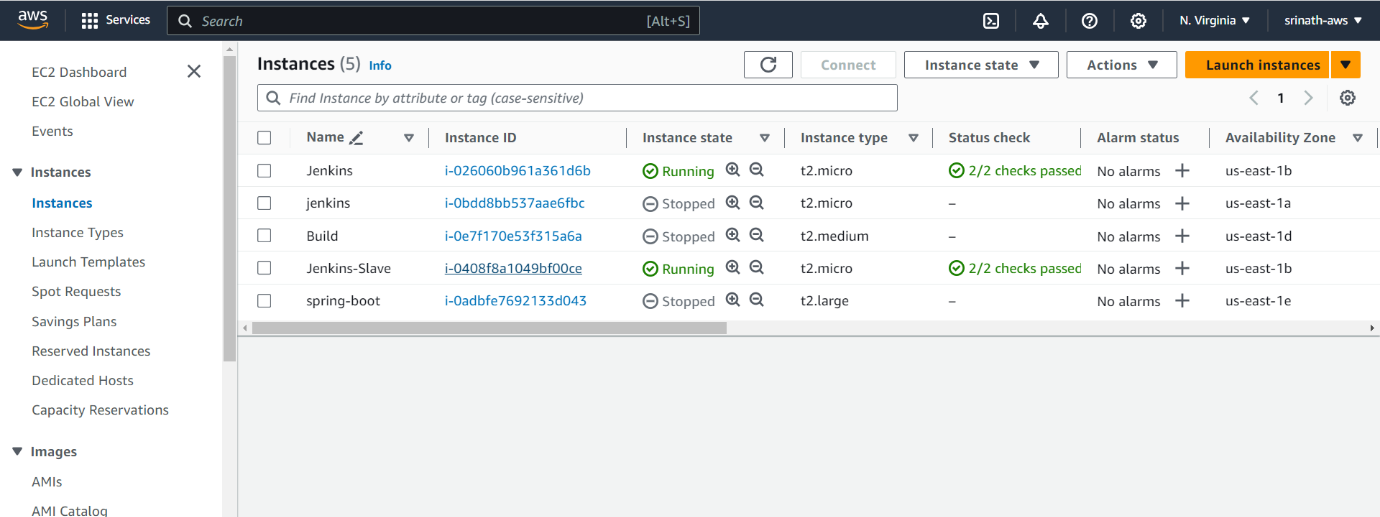
- Take Linux servers. One is for control node, and the other one is for subordinate node.
- The first step is to establish a Jenkins server on the control node and subordinate node we need to configure later.
- Install Jenkins on control node
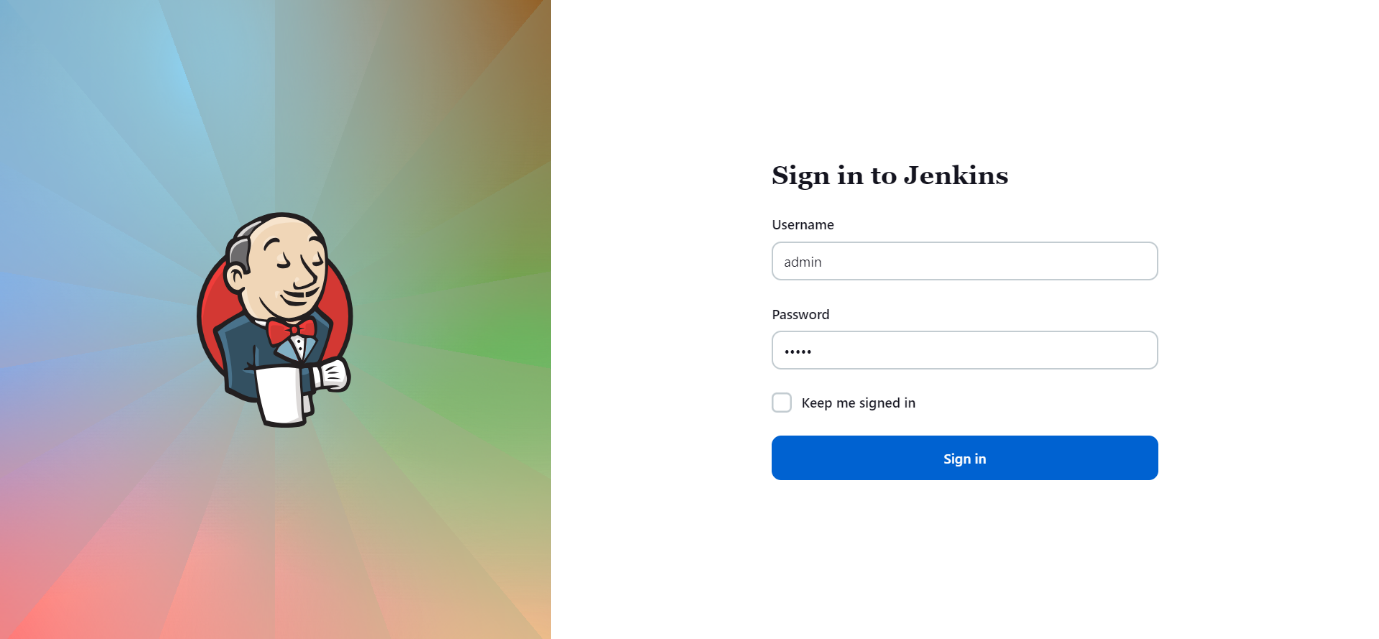
- Login to Jenkins control node
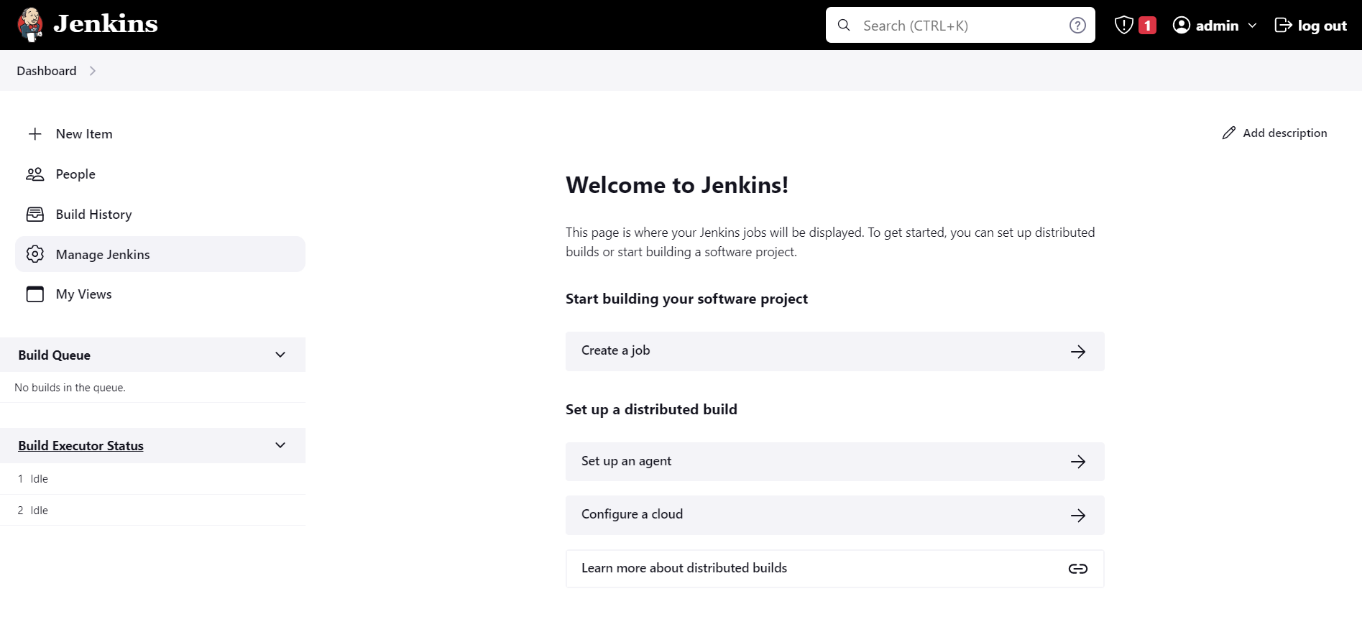
- Once you login to Jenkins UI dashboard with your credentials, you will see the Jenkins dashboard as shown below.
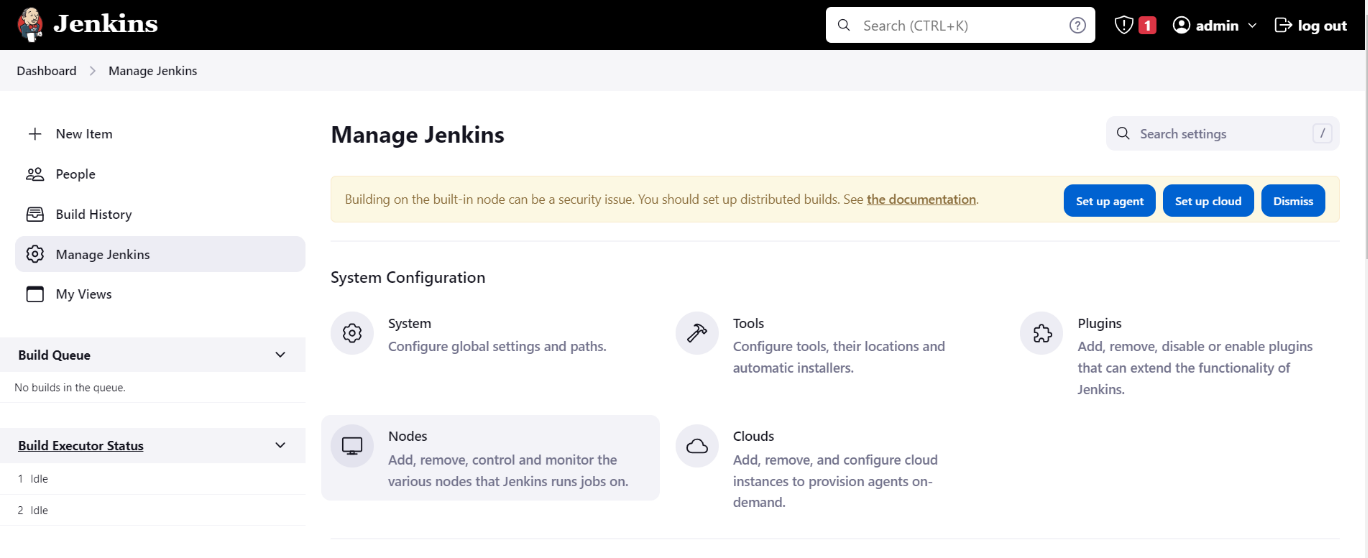
- Click on Manage Jenkins
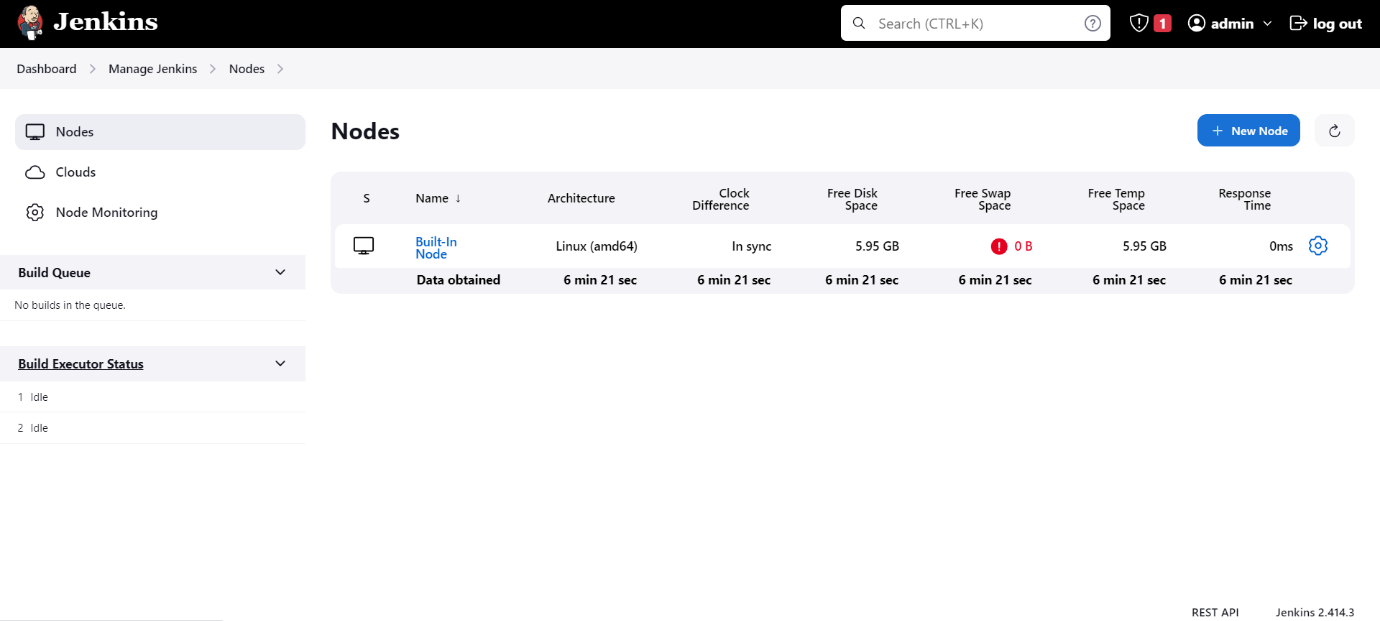
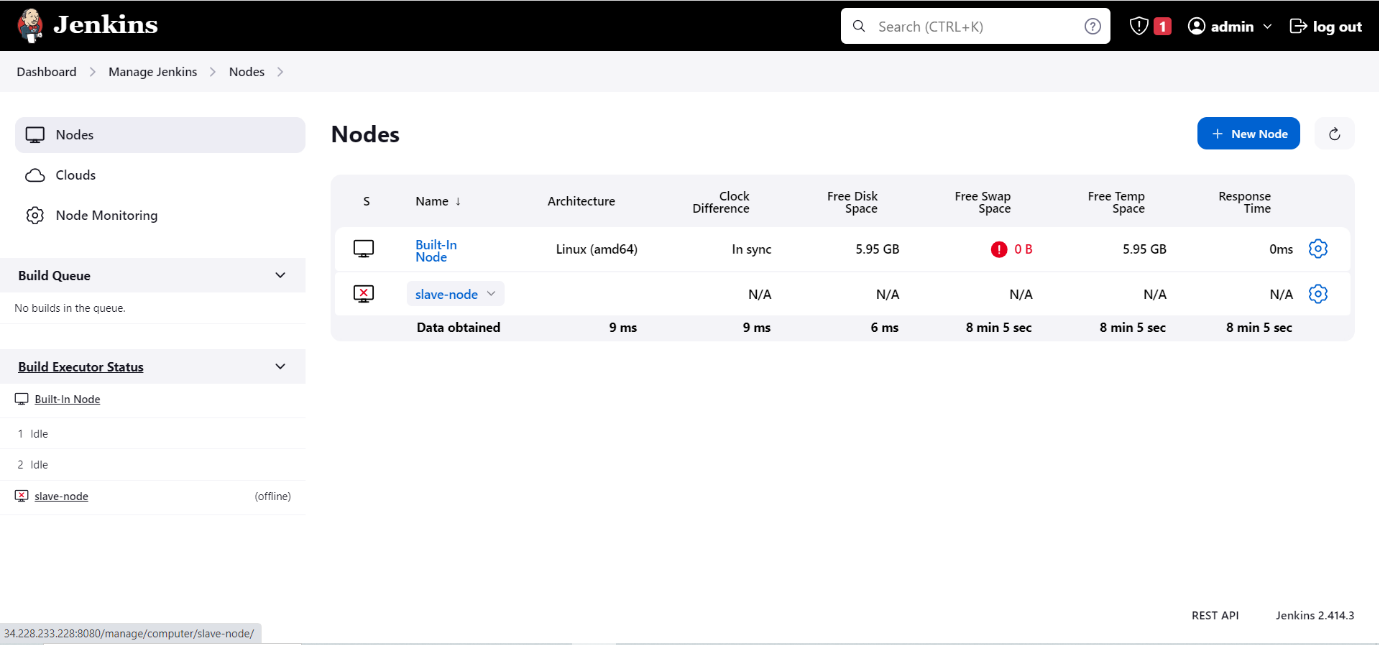
- Then click on Nodes
- In the Nodes page click on
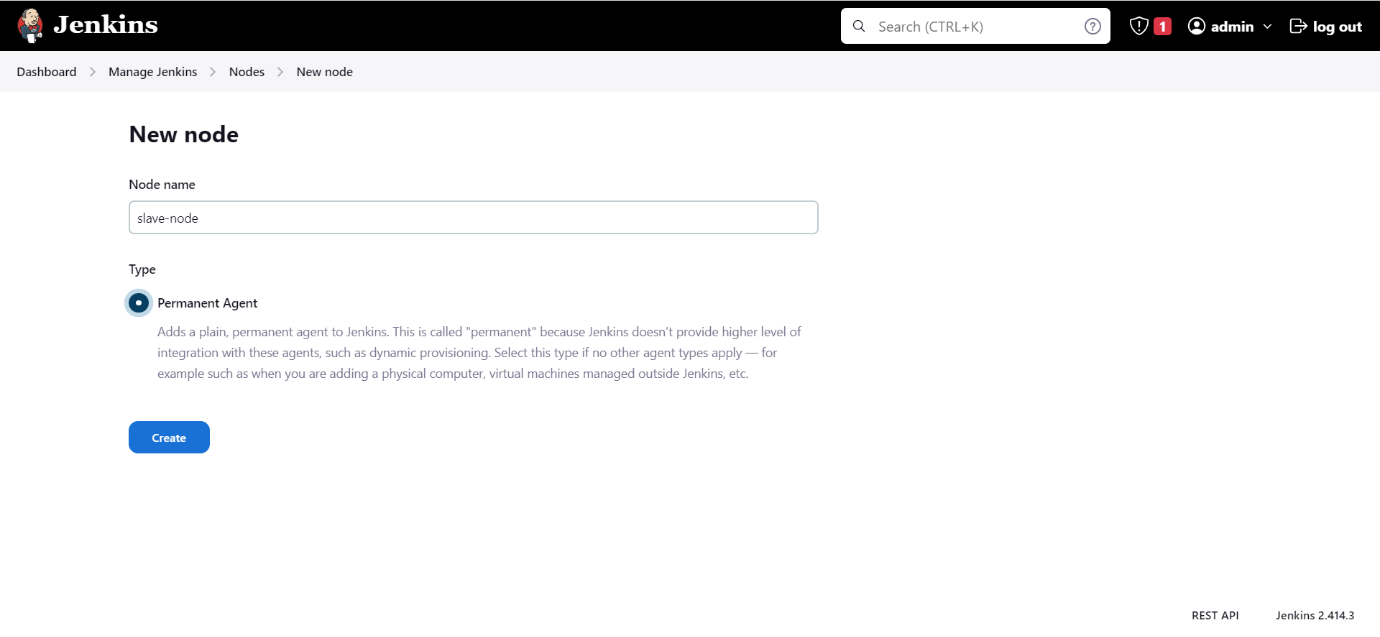
+ New Nodeto create a new node.
- Create a new slave Jenkins with some name and type select as Permanent Agent then click on Create
- Enter the details for Agent node
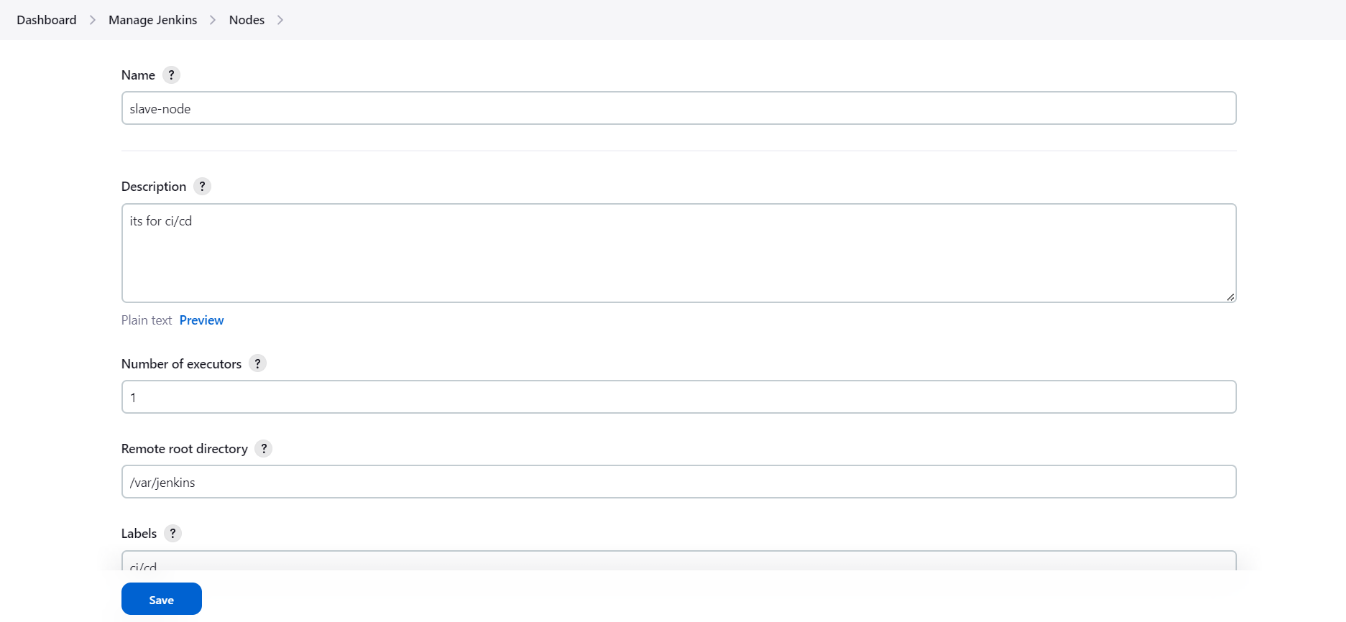
- Give the details like description, name and no of executors
- Remote root directory and labels
- Label are helpful in running jobs on specific nodes based on the labels
- Remote root directory and give the path
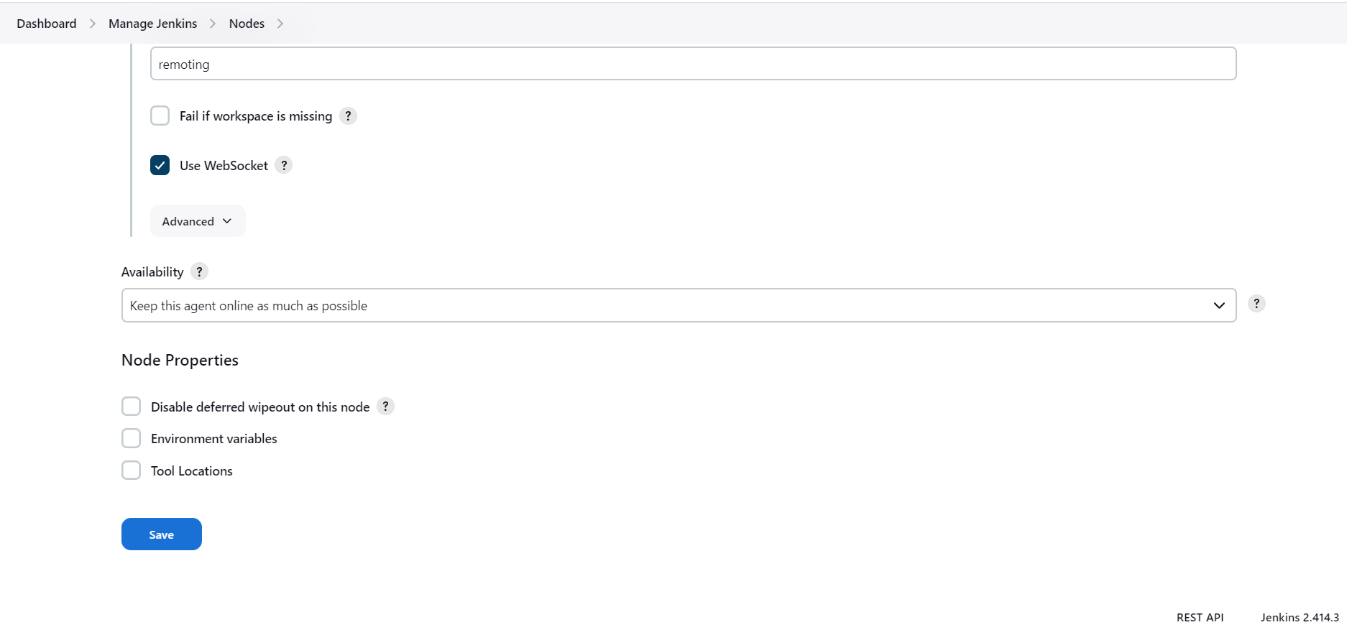
Use WebSocket and to fill in the details as for the project requirement
Then click on Save
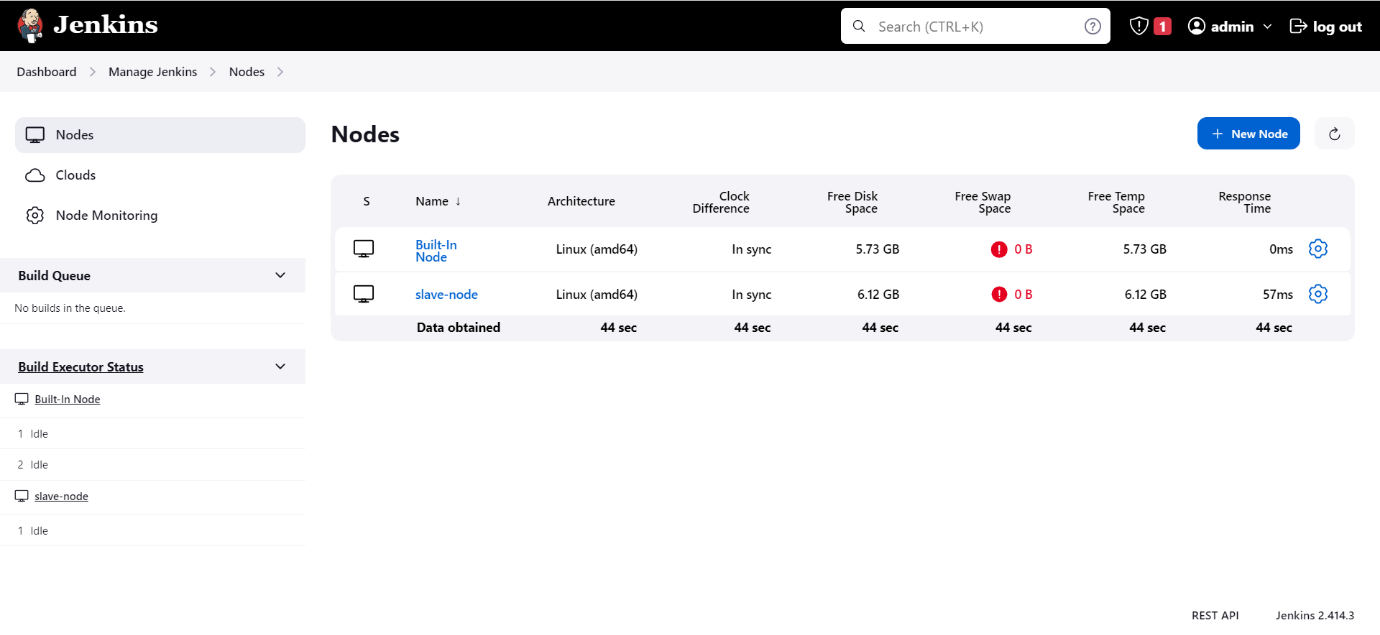
In Nodes we see our new subordinate node, which we created now.
Now that we have created a slave node, we need to configure the slave node to connect to the master node.
Configuring the Slave Node Jenkins
Connect to the server via SSH. I'm using the EC2 instance for the slave node.
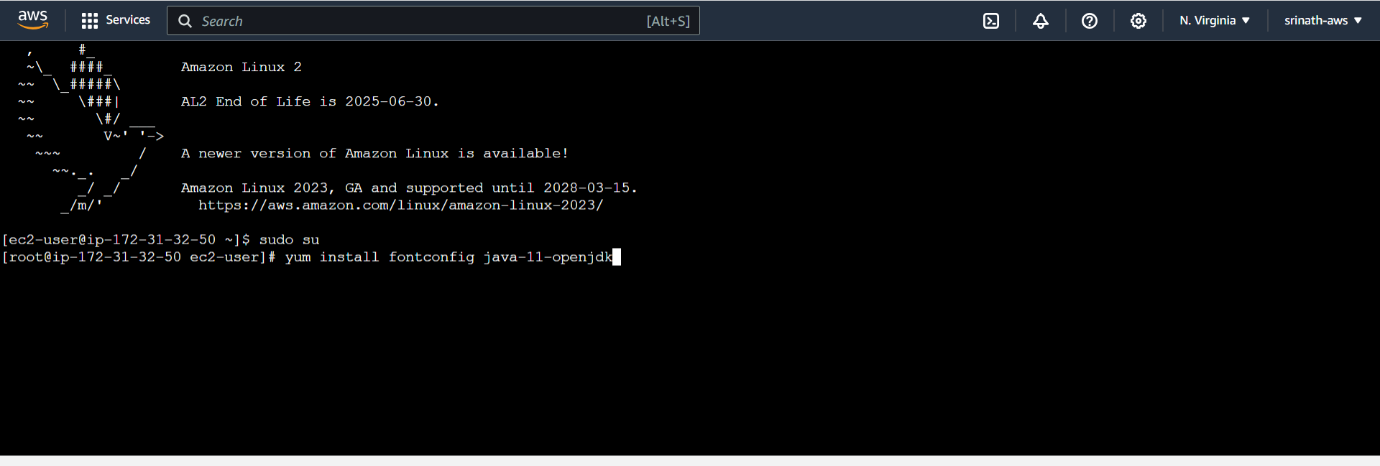
Now lets run the following commands to update the server and install Java.
sudo yum update -y
To check if Java is installed or not, use the following command.
# Get the java installed version
java --version
If Java is not installed, you can install it using the following command. We will be using OpenJDK 17.
sudo yum install fontconfig java-17-openjdk
sudo amazon-linux-extras install java-openjdk17
Open slave node in Jenkins UI which we have created earlier. We can see the Run commands for the slave node.
Run those commands in slave node terminal. Then we will see the slave node is connected to master node.
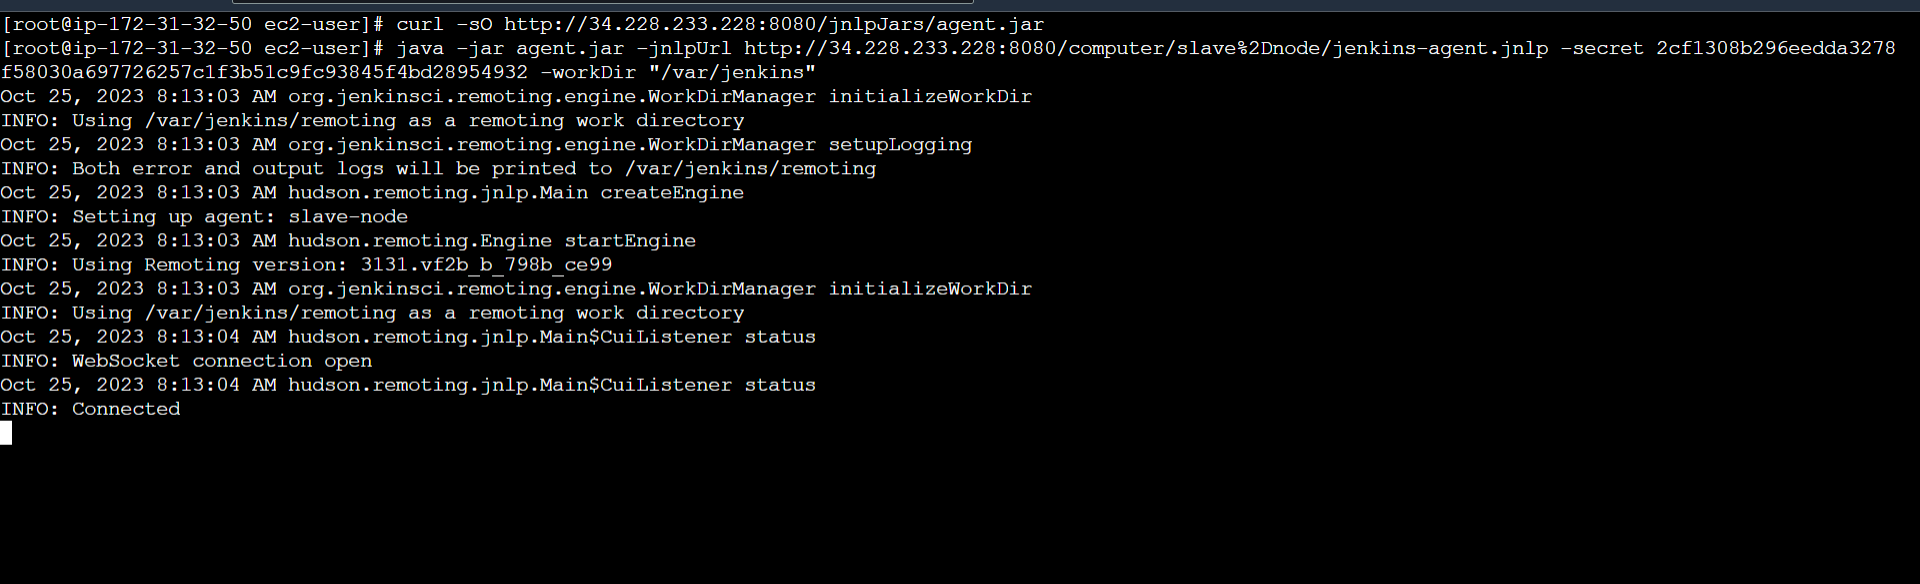
INFO: CONNECTED we can see in terminal
Now the Agent node is ready to run the jobs.
Conclusion
I trust that this post has improved your understanding of working with Jenkins Master Slave configuration. Jenkins is currently the most popular tool used in the CI/CD process across all projects.