- Published on
How to install Jenkins in Linux
- Authors

- Name
- Srinath Musham
What is the prerequisite to install Jenkins on linux?
- Launch a machine with Linux OS and SSH access.
- A non-root sudo user.
- 256 MB of RAM and 1 GB of drive space for solo use.
- 4+ GB of RAM and 50+ GB of drive space for group use.
- Oracle JDK 8 or 11.
- A web server running Apache or Nginx.
- Java needs to installed
Jenkins Installation
Pre-requisites
- Setup a server with SSH connection
- Install required software packages
In my case I am using AWS EC2 instance to install Jenkins on Linux. So I can directly connect to the server using SSH connection from the AWS UI.


Installation of Jenkins on EC2 Instance
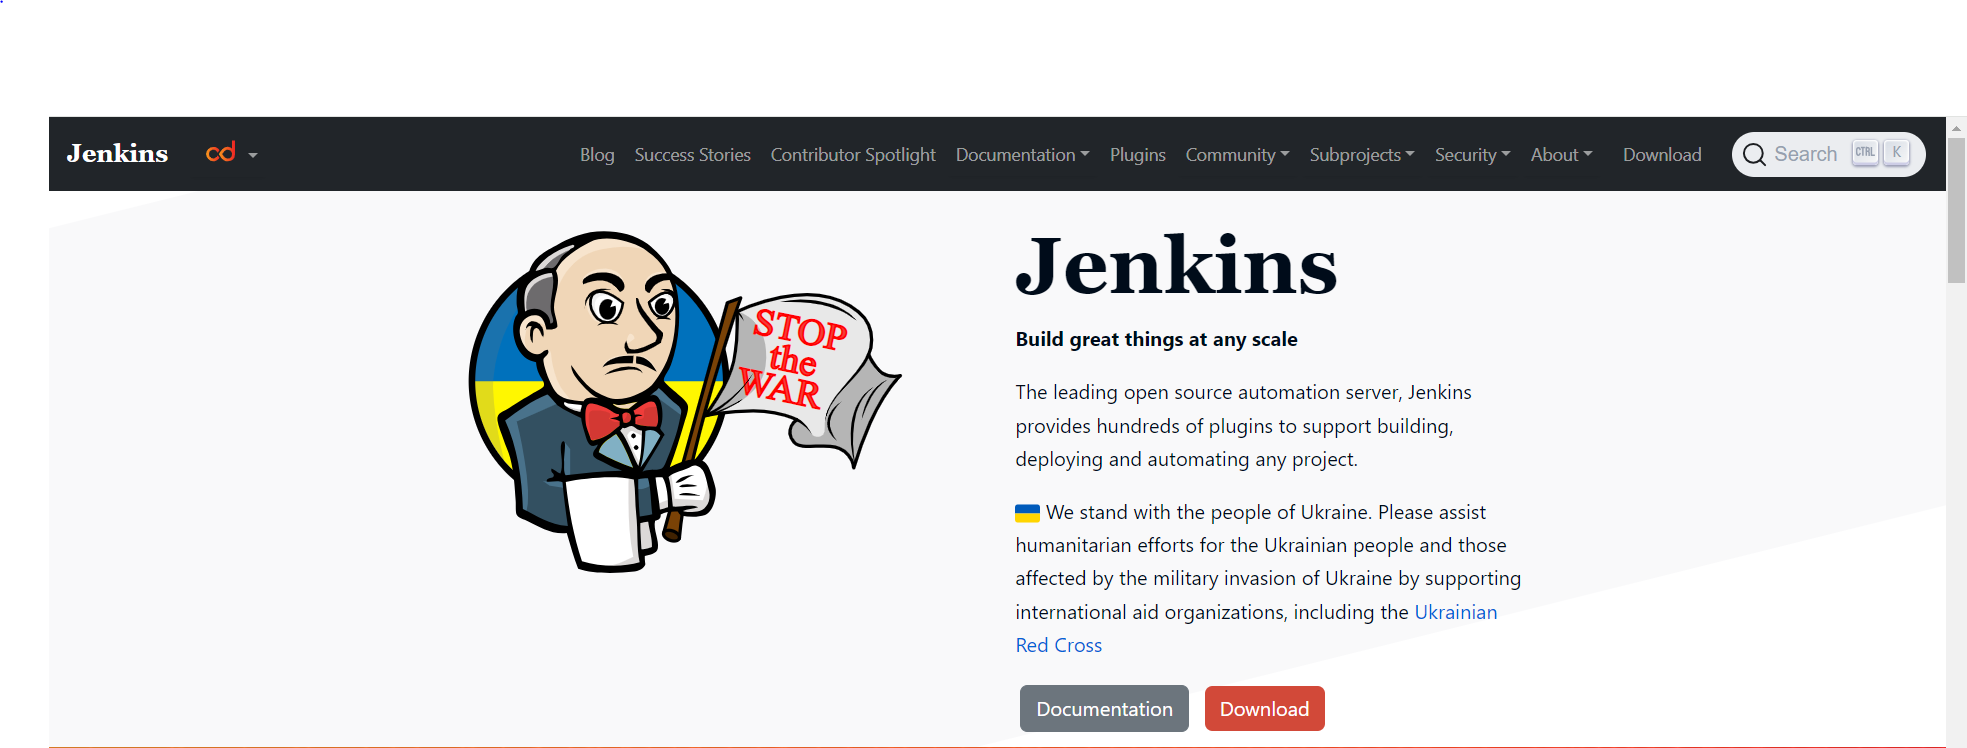
- Open browser and then goto Jenkins Home Page

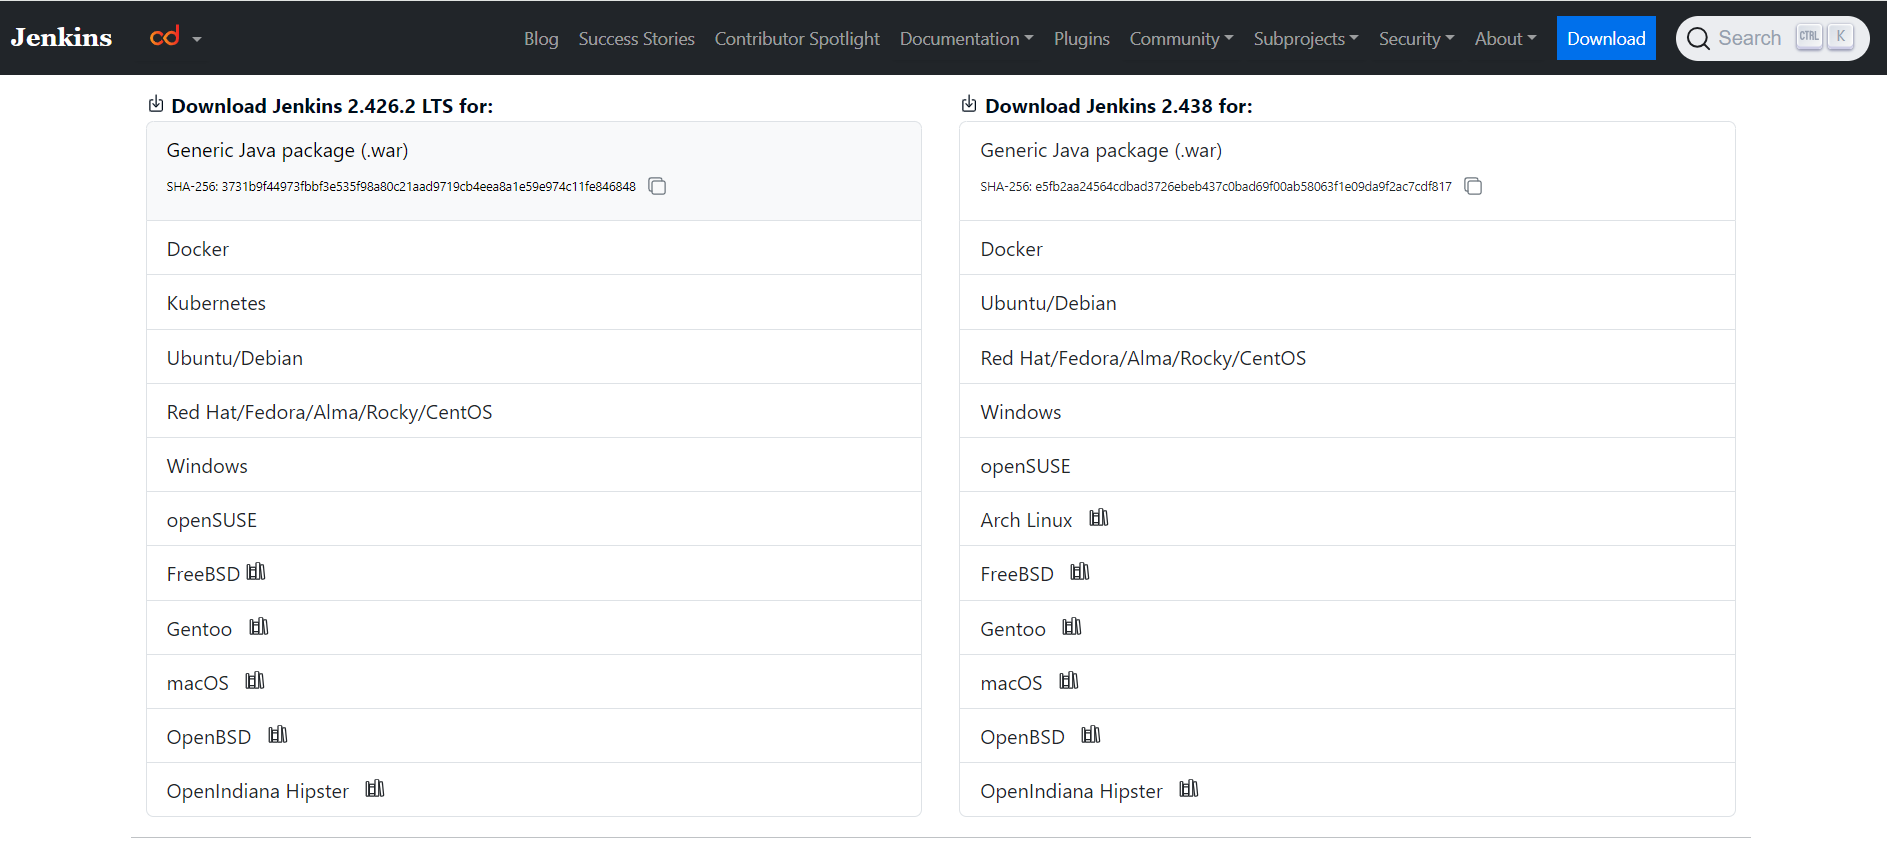
Select the Download option then select the required Operating system
In my case I am using Amazon Linux 2 AMI (HVM), SSD Volume Type. So we will select Redhat Packages. Now copy the link address and keep it for later use.

Now lets run the following commands update the existing packages on the EC2 instance.
sudo yum update -y
Use the command to check if Java is installed or not.
# Get the java installed version
java --version
If Java is not installed, you can install it using the following command. We will be using OpenJDK 17.
sudo yum install fontconfig java-17-openjdk
sudo amazon-linux-extras install java-openjdk17
Now download the latest Jenkins package from the copied link address using wget command.
sudo wget -O /etc/yum.repos.d/jenkins.repo https://pkg.jenkins.io/redhat-stable/jenkins.repo
To enable the installation of the package, import the key file from Jenkins-CI
sudo rpm --import https://pkg.jenkins.io/redhat-stable/jenkins.io-2023.key
Install Jenkins on the EC2 instance using the below command.
sudo yum install jenkins
Use the below command to check if Jenkins is installed or not. You should see the installed version of Jenkins.
sudo jenkins --version
To start the Jenkins service, so that Jenkins will restart automatically when the system reboots.
sudo service jenkins start

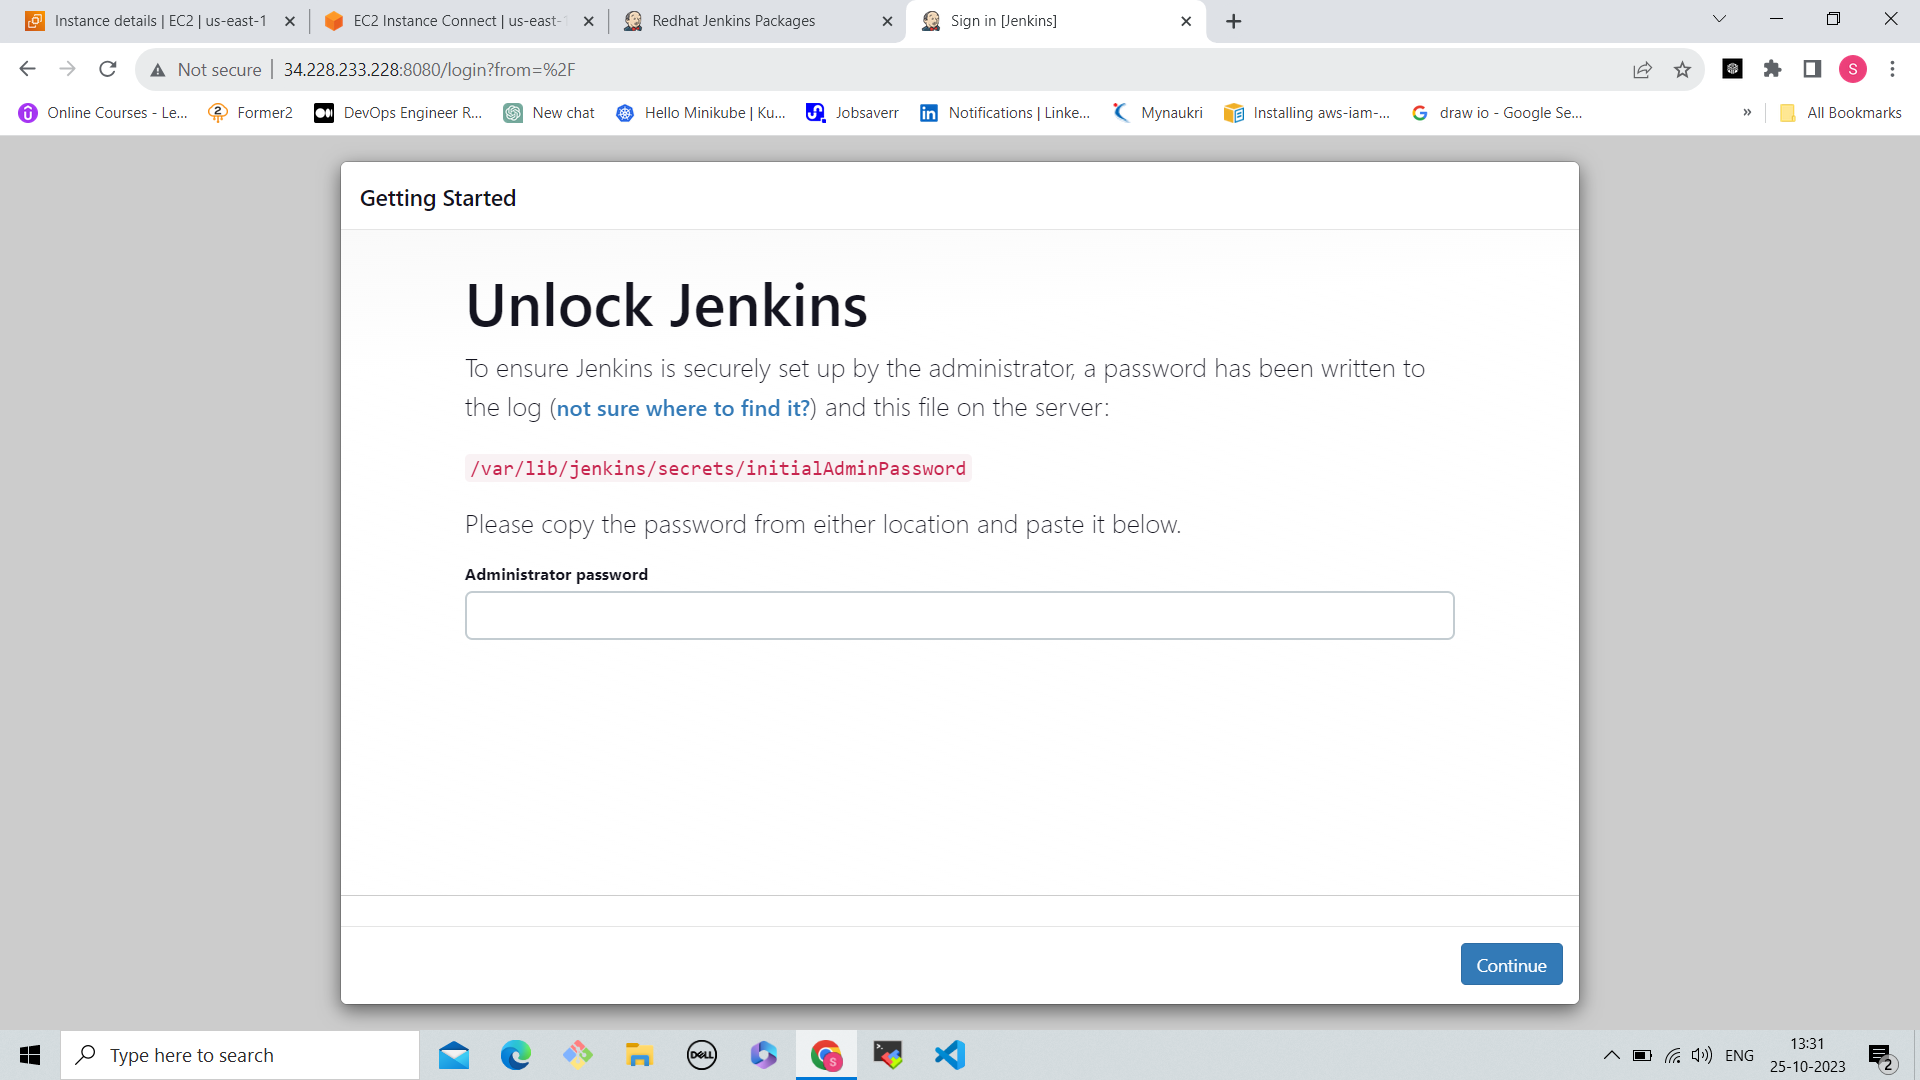
Access the Jenkins server using the public DNS of the EC2 instance or public IP of the instance on port 8080.
http://{ec2-public-dns}:8080

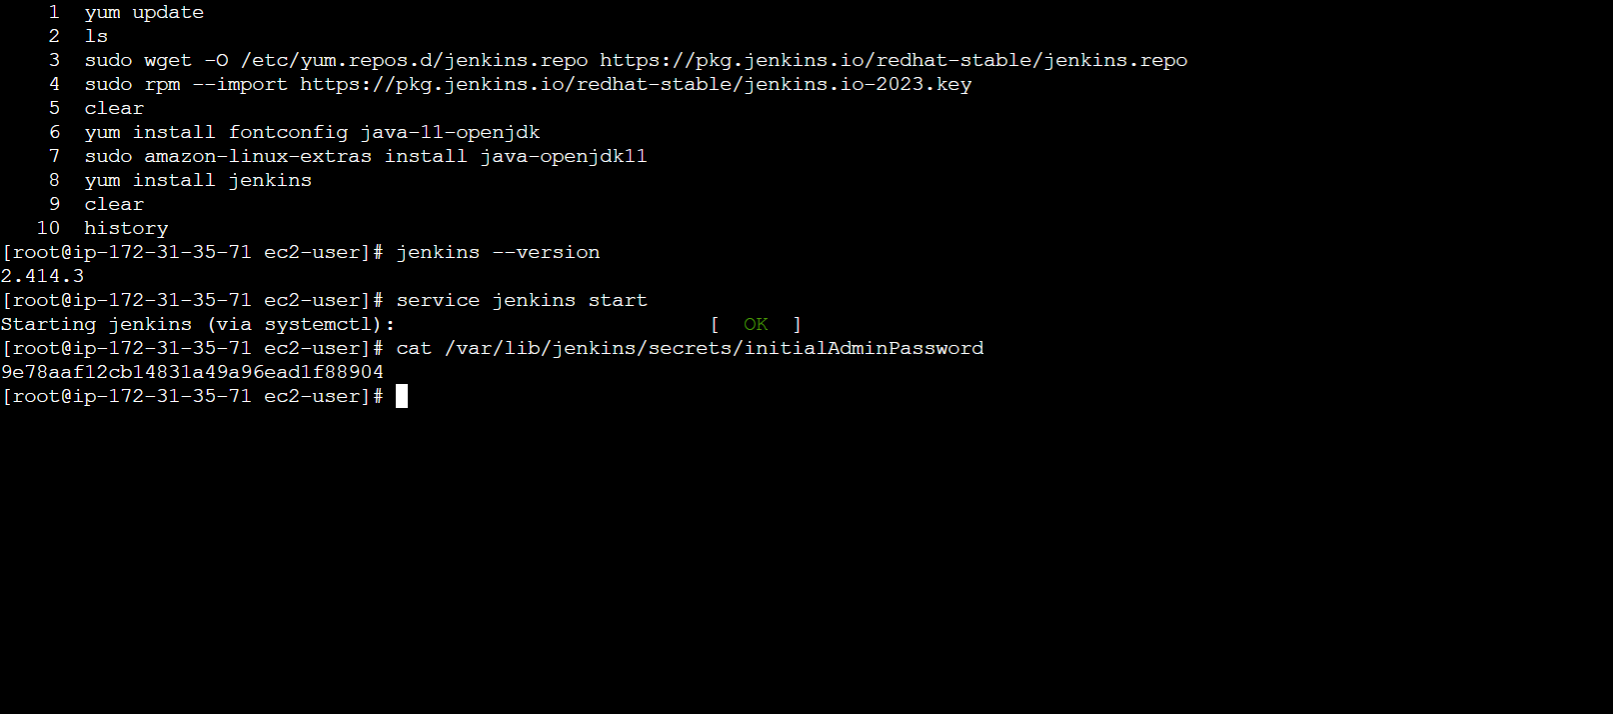
Login using the username admin and to get the initial admin password, execute the following command:
# Get the initialAdminPassword and paste it into the Jenkins UI.
sudo su
cat /var/lib/jenkins/secrets/initialAdminPassword

You can create new password and username to login to Jenkins server going forward, so that you don't have to use the initial password, etc.
Next you can select the plugins to install. You can either select the suggested plugins or custom plugins.

Now setup the Jenkins URL and click on Save and Finish.

Jenkins is now ready.

Finally login to the Jenkins server using the username and password. You can now see the Jenkins dashboard.

Now, you can manage Jenkins jobs by creating CI/CD pipelines, build jobs, and more.
Manage Jenkins Service
You don't need to stop Jenkins service, but if you want to stop it for some reason, you can use the below command.
sudo service jenkins stop
Similarly, you can restart the Jenkins service incase you have made any changes to the configuration.
sudo service jenkins restart
To check the status of the Jenkins service.
sudo service jenkins status
Conclusion
I hope this post has given you a better understanding of working with Jenkins. Jenkins is currently the most popular tool used in the CI/CD process across all projects.