- Published on
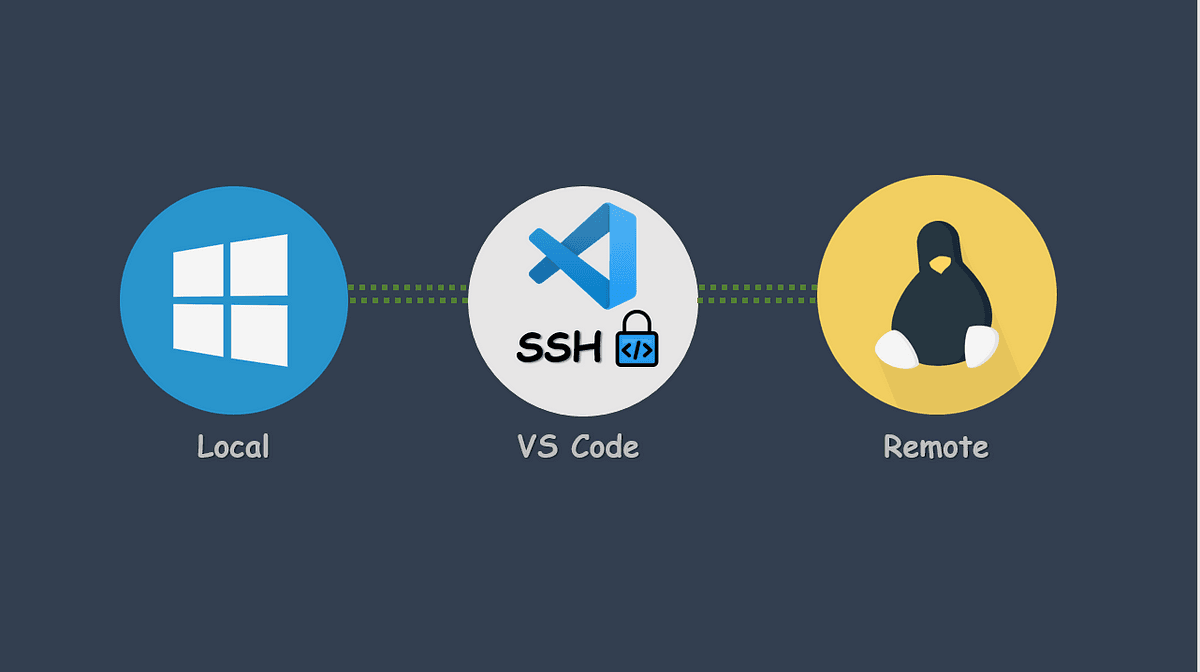
SSH configuration with Visual Studio Code
- Authors

- Name
- Srinath Musham
Pre-requisites
To get started, you need to complete have the below prerequisites:
- Install Visual Studio Code.
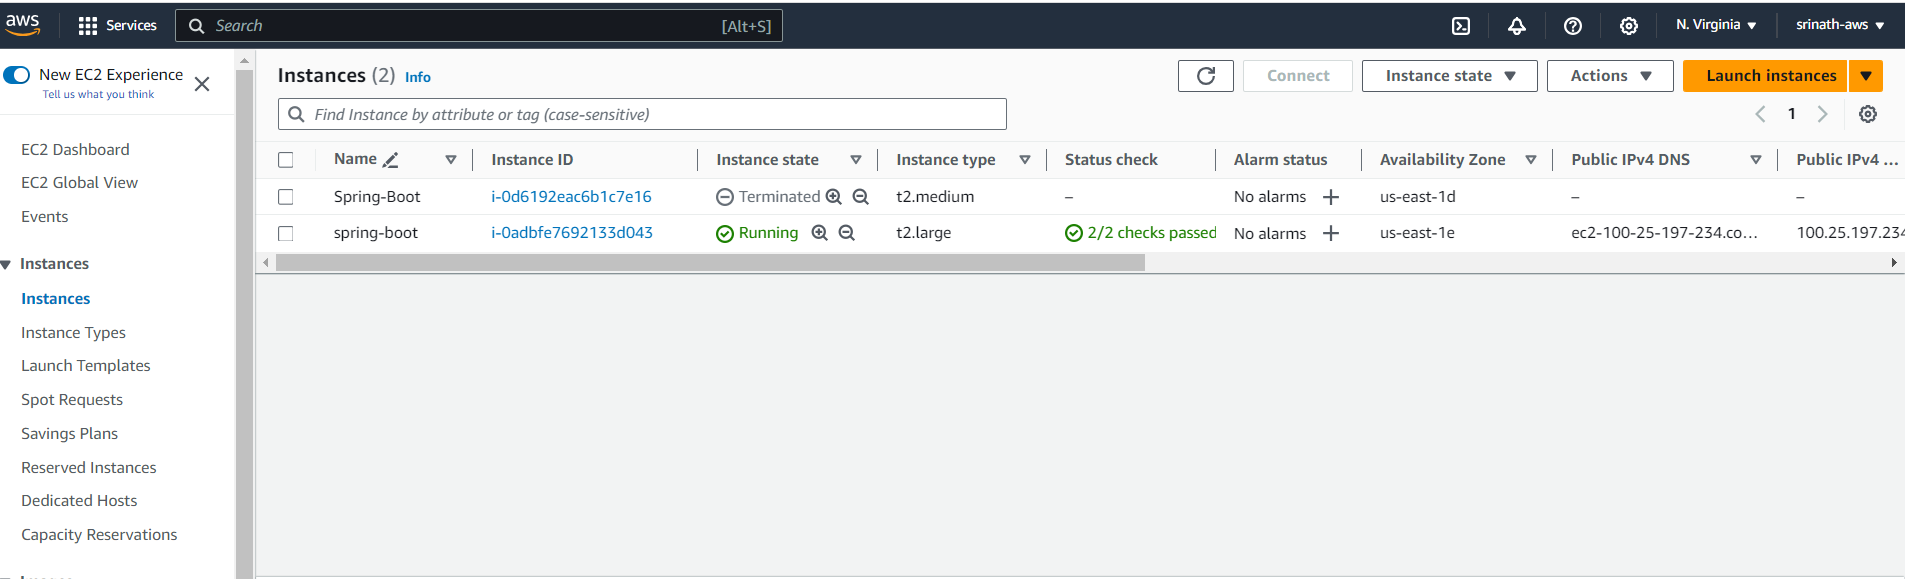
- Have a remote machine to connect to. This can be a virtual machine running on your local machine or a virtual machine running in the cloud. In this tutorial, we will be using an AWS EC2 instance as our remote machine.
- Private key file (.pem) for the remote machine. If you are using an AWS EC2 instance, you can download the .pem file from the AWS console.
- The DNS address of the remote machine is accessible to the public. To locate the public DNS of an AWS EC2 instance, refer to the AWS console.
Configure SSH Host
If you have installed VSCode already then open it and click on the Remote Explorer icon in the Activity Bar on the left side of the VSCode window. If you don't see the Remote Explorer icon, click on the Extensions icon in the Activity Bar and search for Remote - SSH. Click on the Remote - SSH (ms-vscode-remote.remote-ssh) extension and click on the Install button. This extension is used to connect to a remote machine using SSH and edit files on that machine directly from VSCode.
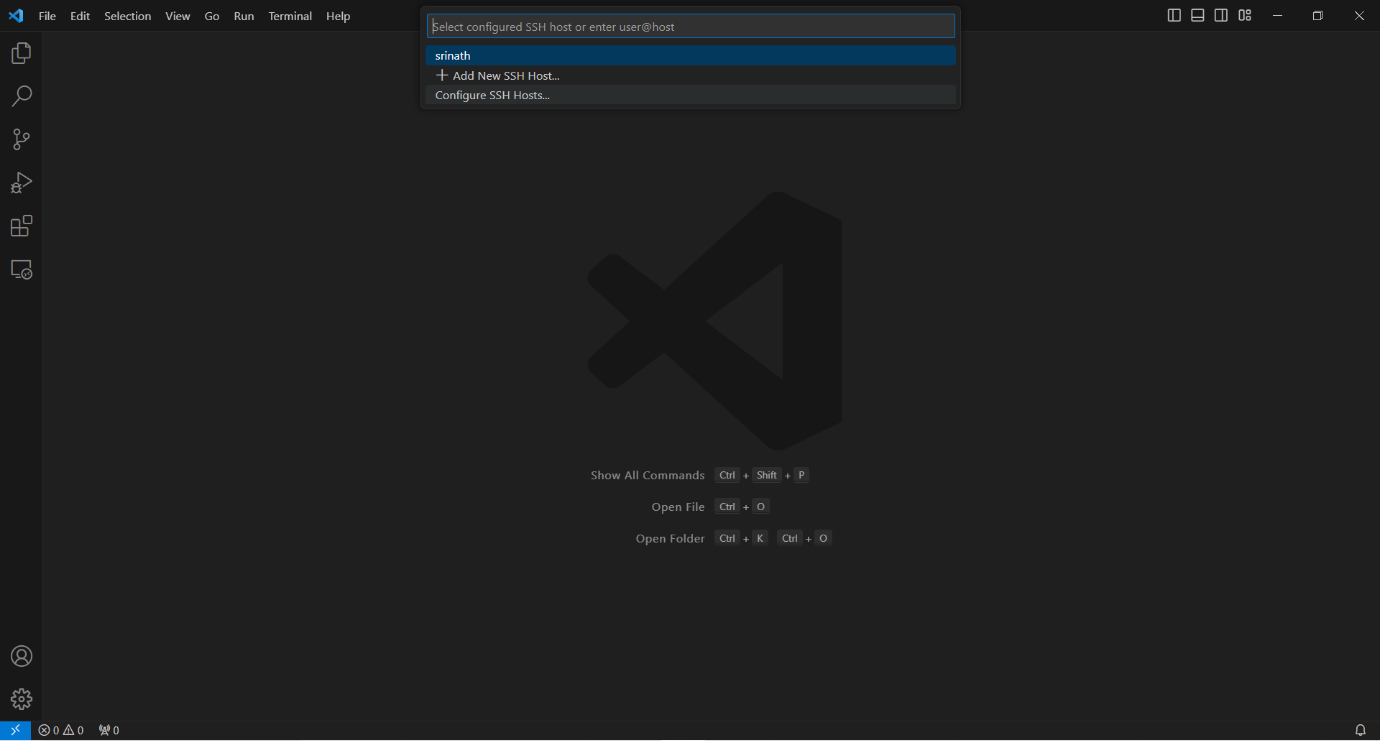
Select remote window option in VSCode left-hand-side bottom corner >< icon. You will need to click on the Connect to Host option.

If you look at the below image, you can see that I've already configured a host named srinath in my VSCode. You can configure a new host by clicking on the Configure SSH Hosts option.
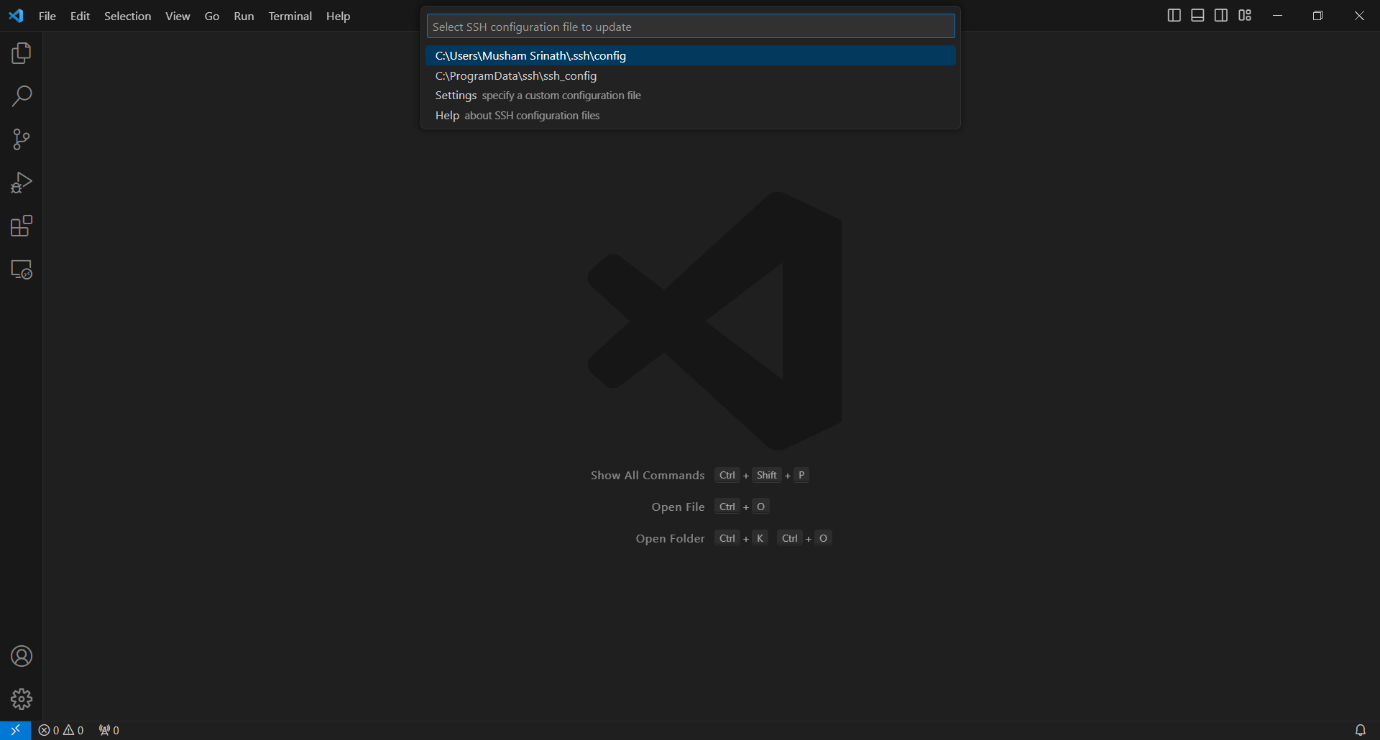
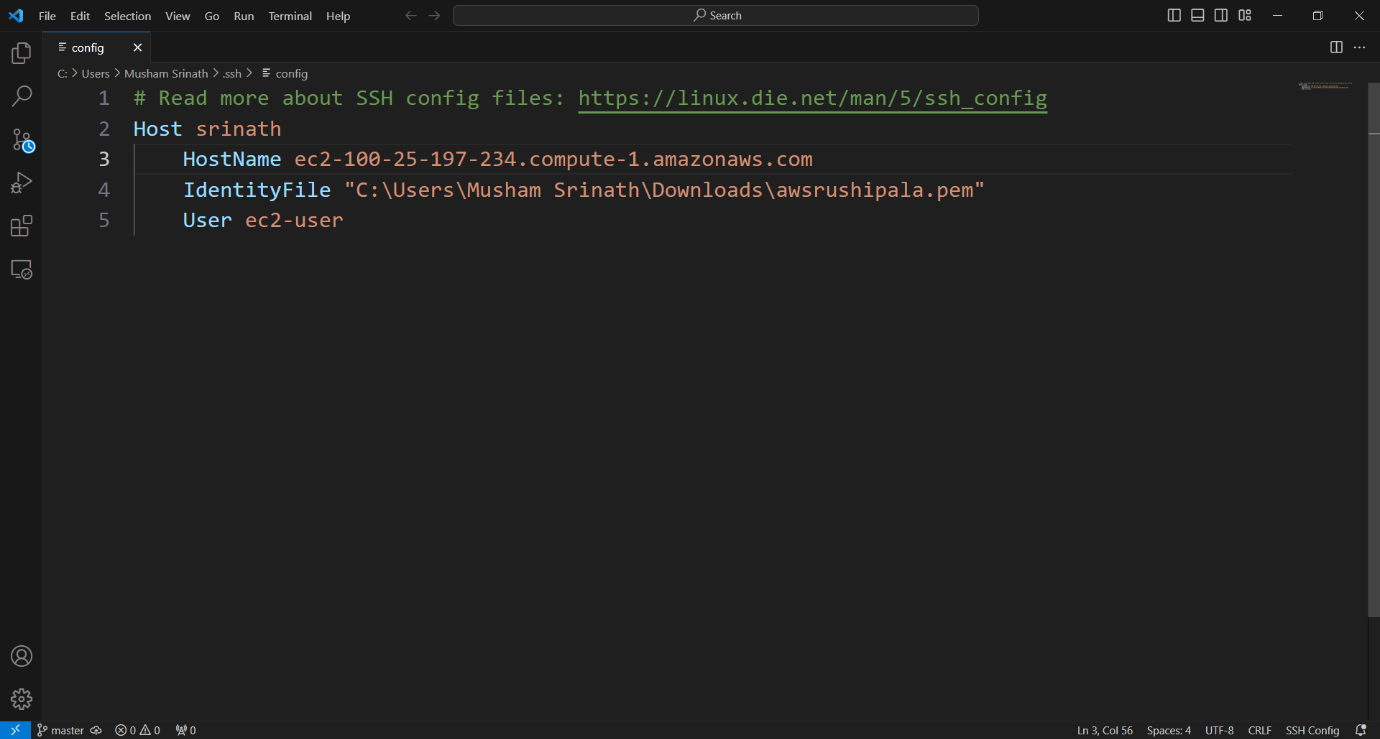
Select config file which is present in your .ssh folder and for me the path is C:\Users\Musham Srinath\.ssh\config. If you don't have a config file, you can create one in the %USERPROFILE%\.ssh folder. In Linux and macOS, the path is ~/.ssh/config. Click on this option and this will open the config file in VSCode.
Obtain the public DNS address of the remote machine. In case you're utilizing a different cloud provider, ensure you get the public DNS of the remote machine. We need to change the config file to add the public DNS of the remote machine. The config file will look like this.
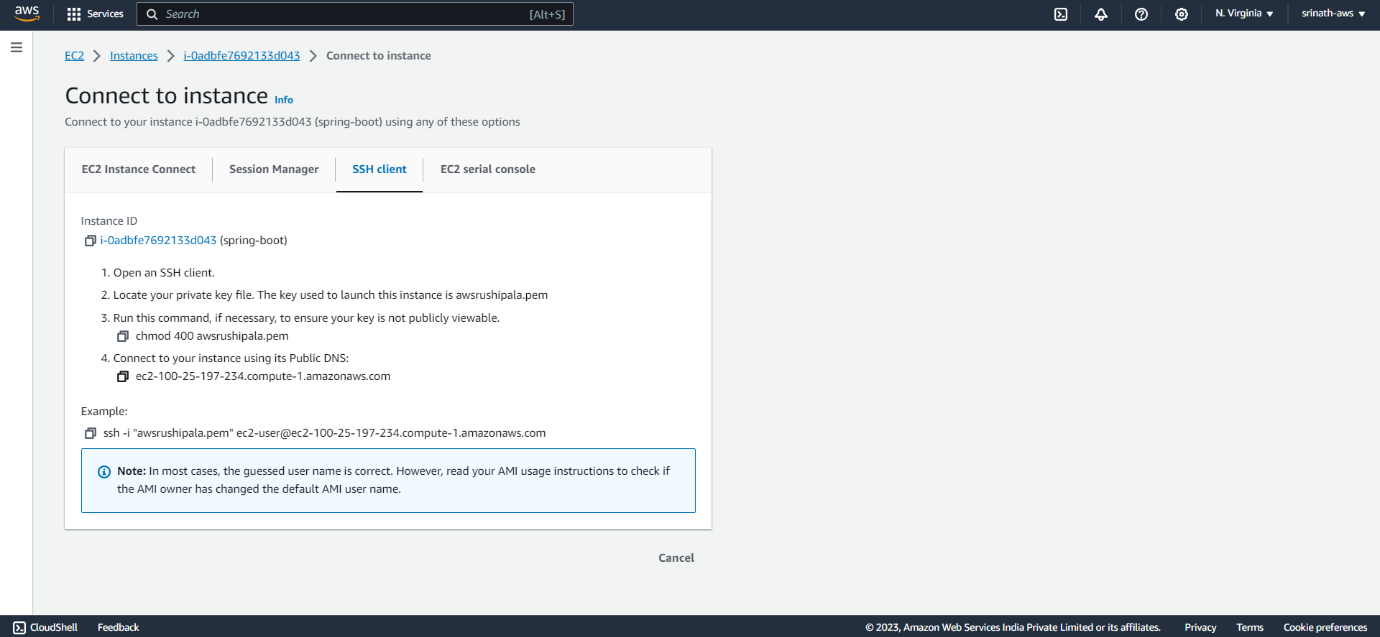
Host srinath
    HostName ec2-100-25-197-234.compute-1.amazonaws.com
    IdentityFile "C:\Users\Musham Srinath\Downloads\awsrushipala.pem"
    User ec2-user
- Host - This is the name of the host. You can give any name you want. I've given the name
srinathto my host. - IdentityFile - This is the path to the private key file (.pem file) for the remote machine.
- HostName - This is the public DNS of the remote machine.
- User - This is the username of the remote machine. For AWS EC2 instances, the username is
ec2-user. For other cloud providers, you'll need to find the username for your remote machine which has SSH access.
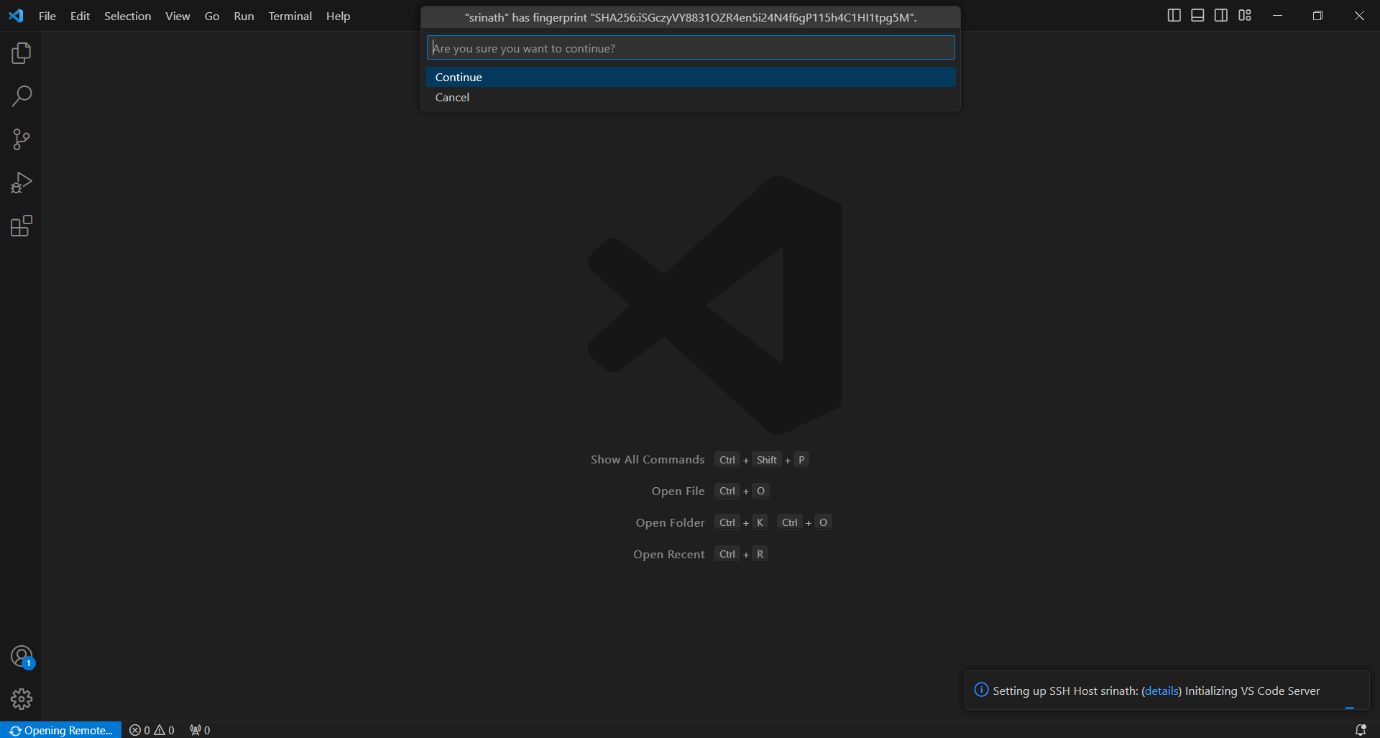
Now save the config file and click on the Connect to Host option. You'll see a list of hosts that you've configured in the config file. Select the host that you want to connect to. In my case, I've selected the host named srinath. You will be prompted to enter the passphrase for the private key file. Enter the passphrase and click on Continue. If you don't have a passphrase, you can leave it blank and click on Continue. First time you'll get a warning message like this. Proceed further by clicking on the Continue option.
Now you'll see a new VSCode window with the remote machine. You can see the name of the host in the bottom left corner of the VSCode window. You can also see the name of the host in the Remote Explorer. Now when you open a folder in VSCode, it will open the folder on the remote machine like this.
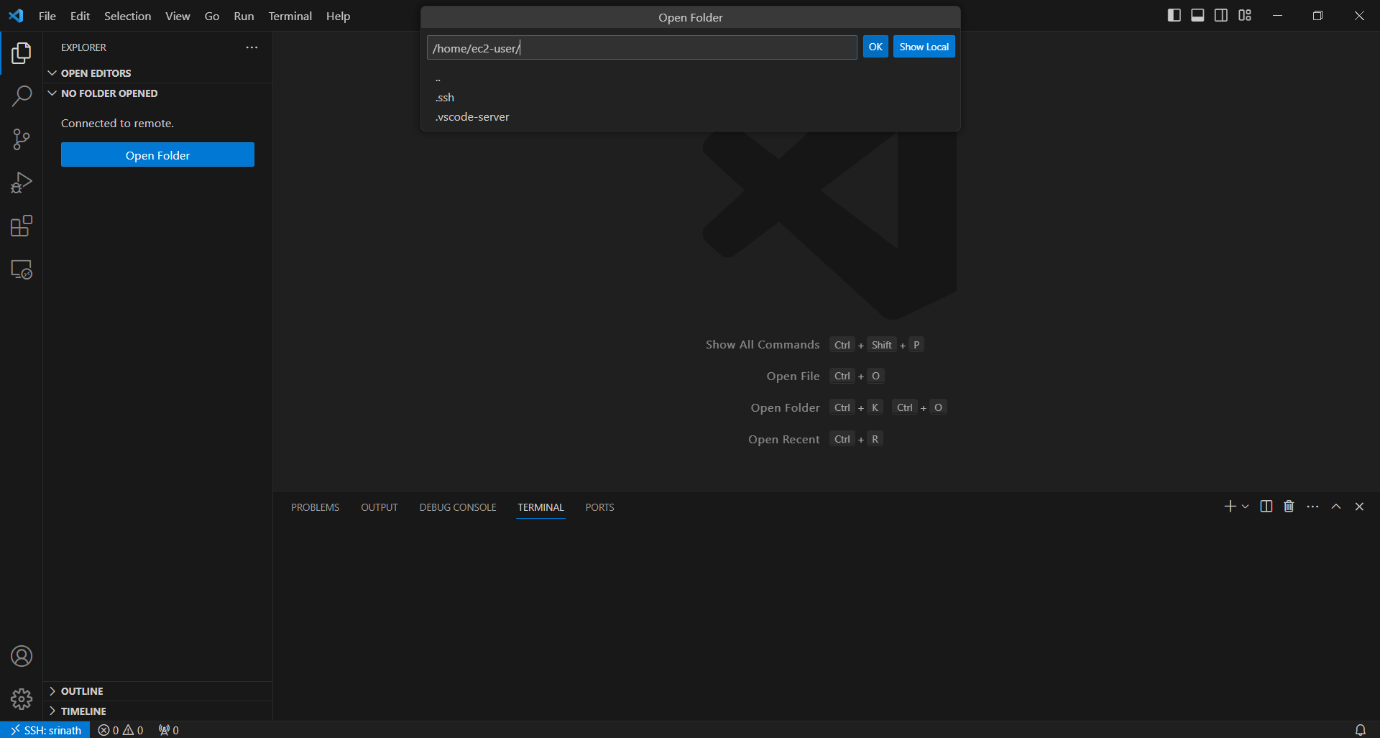
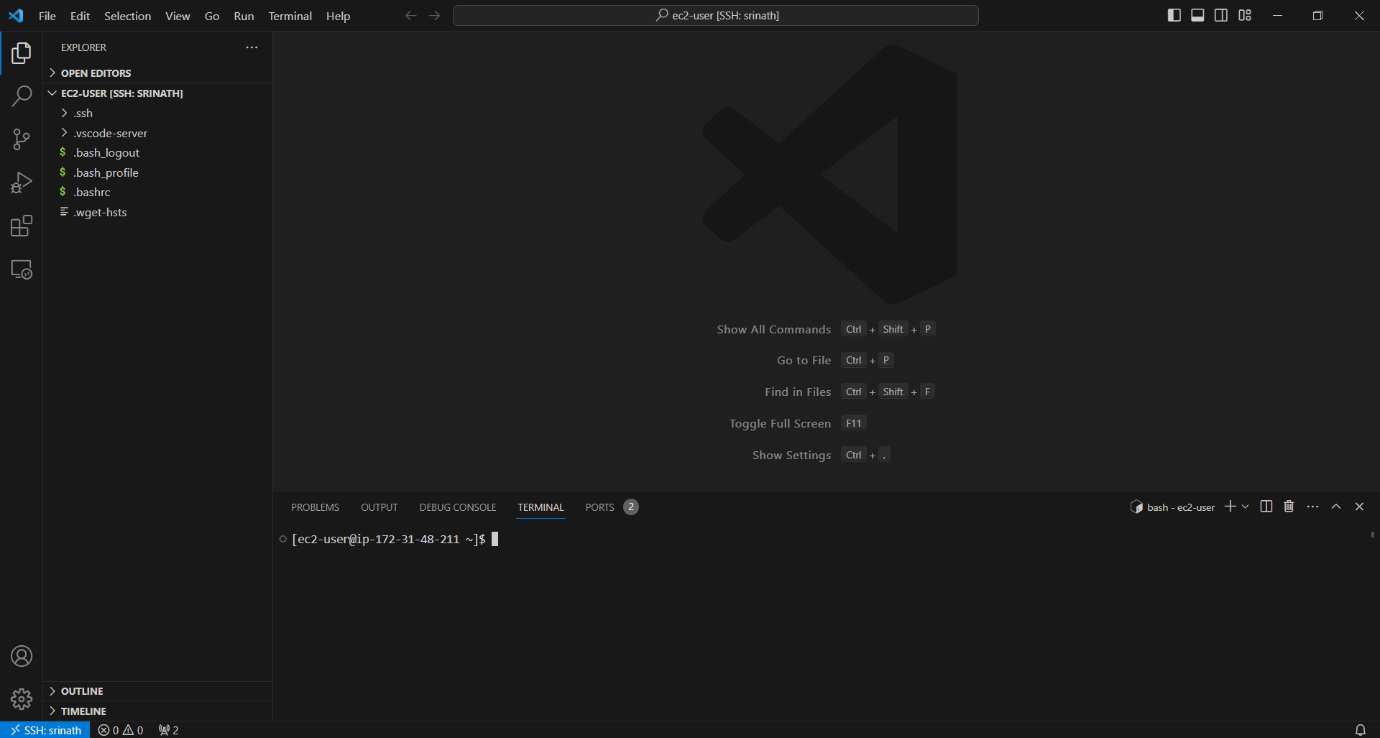
Now, I've opened ec2-user home directory in VSCode. You can see the files and folders in the remote machine. You can also open a terminal in VSCode and run commands on the remote machine.
You can now edit files on the remote machine directly from VSCode. VSCode is a much better editor than the default editors on the remote machine. You can also install extensions in VSCode to make it even better. One disadvantage of VSCode is it consumes a lot of memory. So if you are using a remote machine with less memory, you may find that you've exhausted the memory on the remote machine. I would recommend using a remote machine with at least 2GB of memory.
If it is a production server, then make sure you have a minimum 4GB or more RAM, free for VSCode purpose. Installing extensions and opening multiple files in VSCode can cause the server to crash due to increased memory consumption.
Conclusion
In this tutorial, we learned how to connect to a remote machine using the Visual Studio Code Remote - SSH extension. This is a useful extension for developers who work on remote machines. Editing files on the remote machine from VSCode is made incredibly easy. I trust you found this tutorial helpful. If you have questions or feedback, please let me know in the comments below.